
How to Build a Color-Changing LED with Remote Control
Welcome to the world of color-changing LEDs and remote control! This project is a great way to add a touch of dynamism and creativity to your home, party, or any space you can imagine. You’ll learn how to combine LEDs, remote control modules, and a microcontroller to create a mesmerizing lighting experience.
Essential Components
Before we get started, let’s take a look at the key components you’ll need for your color-changing LED project:
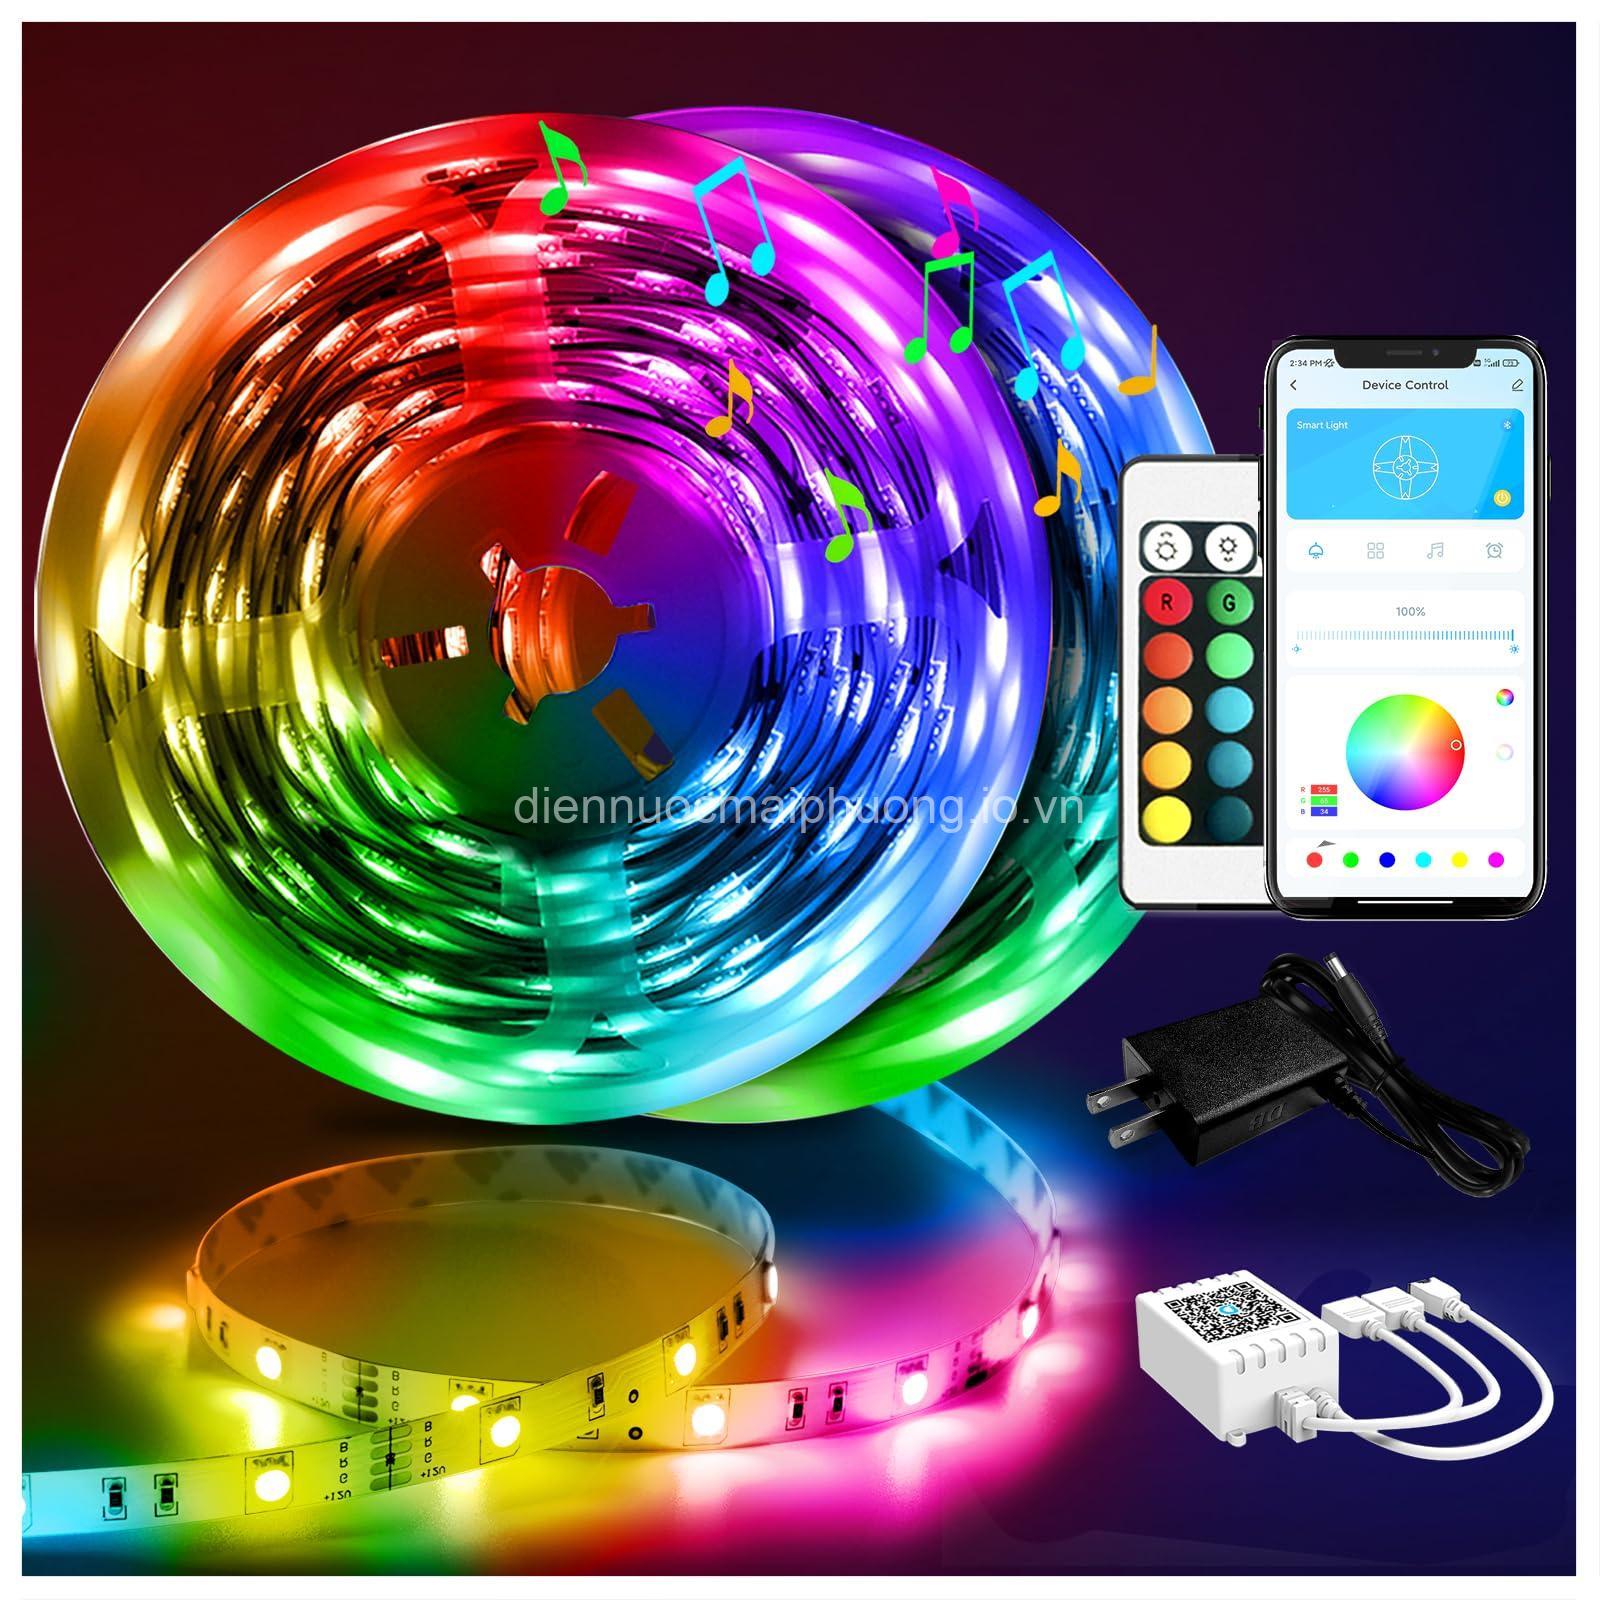
- RGB LEDs: These are the heart of the project. RGB LEDs contain three individual LEDs, red, green, and blue, that can be controlled independently. By varying the intensity of each color, you can create a wide spectrum of hues, from vibrant reds and blues to soft pastels and even white light!
- Remote Control Module: You’ll need a remote control module to wirelessly control the LEDs. There are two common types: infrared (IR) and Bluetooth. An IR remote control module is often less expensive and easier to work with, while a Bluetooth remote control offers greater flexibility and range. For this project, we’ll be using an IR remote control module for its simplicity.
- Microcontroller: A microcontroller like an Arduino is essential for managing the LEDs and responding to the commands from your remote control module. The Arduino is a popular choice for beginners due to its ease of use and wide community support.
- Other Components: You’ll also need resistors to limit the current flowing through the LEDs, connecting wires to connect all the components, and a power supply (a battery or an AC adapter) to provide power to your circuit.
Circuit Design & Construction
Once you’ve gathered your components, it’s time to design and build your circuit. Here’s how:
- Circuit Diagram: Start by sketching out a circuit diagram, which is like a blueprint for your project. This diagram shows how all the components are connected together. It’s like a map that tells you exactly where to place each component and how to connect them.
- Component Selection and Values: Carefully select the right components for your project. This includes choosing resistors with the appropriate values to limit current and prevent your LEDs from burning out. Refer to the Arduino documentation or online resources to find suitable resistor values for your chosen RGB LEDs.
- Soldering and Assembly: Now it’s time to assemble the circuit. Using a soldering iron and solder, carefully connect the components according to your circuit diagram. Be sure to check your connections and make sure they are secure. This process is like assembling a puzzle, but with a soldering iron!
Arduino Code
The Arduino is like the brain of your project, processing the signals from your remote control module and controlling the RGB LEDs. Here’s how you’ll program the Arduino to work with your circuit:
- Basic Code Explanation: You’ll write code using the Arduino programming language to control the RGB LEDs based on the signals received from the remote control module. The code will interpret the buttons pressed on your remote and send the corresponding instructions to the RGB LEDs to change their color and brightness. It’s like giving your Arduino a set of instructions for reacting to your remote commands.
Testing and Troubleshooting
After assembling the circuit and writing your code, it’s time to test your creation!
- Testing Procedures: Connect your circuit to a power supply and test it with the remote control module. Check that each LED can be controlled individually and that you can change the color and brightness using your remote.
- Troubleshooting Tips: If you run into any problems, be sure to check your connections, component values, and your Arduino code. Review the circuit diagram, and double-check for any loose connections or incorrect component placements.
Project Applications and Variations
Now that you’ve created your color-changing LED project, let’s explore some ways to use it:
- Real-World Uses: You can use your project to create mood lighting in your home, add visual effects to your party, or even design custom lighting for specific events. Imagine creating a unique ambiance for a special occasion!
- Expanding the Project: Once you’ve mastered the basics, you can explore adding even more functionality and complexity. For example, you can incorporate a microphone and use sound to control your LEDs. Or, you can use sensors to react to light or temperature changes. The possibilities are endless!
Selecting the Right Components
Choosing the right components is essential for ensuring your project works smoothly and meets your needs.
- Choosing RGB LEDs: Consider the brightness, power consumption, and type of RGB LEDs (single LEDs, LED strips) that best suit your project.
- Remote Control Options: You can select infrared (IR) or Bluetooth remote control modules, depending on your needs. Factors to consider include the range, frequency, and compatibility with the Arduino you are using.
- Microcontroller Alternatives: While Arduino is a popular choice, there are other microcontroller options, each with its strengths. Do some research to see which one best suits your project.
- Choosing the Right Power Supply: Decide on the appropriate type of power supply (battery, AC adapter) and its wattage and voltage for your circuit.
Additional Resources
To help you along your journey, here are some additional resources:
- Online Tutorials and Project Guides: There are countless online tutorials and project guides that can help you learn more about color-changing LEDs, Arduino programming, and electronics in general.
- Component Suppliers: Find reputable online retailers and local stores where you can purchase the necessary components for your project.
Safety Precautions
Safety should always be a top priority when working with electrical components. Here are some important precautions to keep in mind:
- Soldering Safety: When using a soldering iron, ensure proper ventilation, use appropriate heat settings, and wear safety glasses to protect your eyes.
- Electrical Safety: Always work with low voltage and be careful when handling electrical components. It’s a good idea to unplug the power source before making any changes to the circuit.
Conclusion
Building a color-changing LED with remote control can be a rewarding project. With this guide, you’ll have the knowledge and tools to create a dynamic and fun project. If you have any questions or want to share your project creations, be sure to leave a comment below or visit our website at https://diennuocmaiphuong.io.vn for more electrical and water knowledge!
FAQs About Color-changing LED with Remote Control
What types of LEDs are best for creating a color-changing LED project?
RGB LEDs are ideal for creating color-changing LED projects because they contain three individual LEDs – red, green, and blue – which can be controlled independently. This allows you to mix the colors to create a wide range of hues.
What are the different types of remote control modules available?
The two most common types of remote control modules are infrared (IR) and Bluetooth. IR remote control modules are often more affordable and easier to work with, while Bluetooth modules offer greater flexibility and range. The choice depends on your project needs and preferences.
What is the role of a microcontroller in this project?
A microcontroller like an Arduino acts as the brain of your project. It receives signals from the remote control module and uses them to control the RGB LEDs. The microcontroller interprets the button presses on the remote and sends instructions to the LEDs to change their color and brightness.
What are some other applications for color-changing LEDs with remote control?
In addition to home decor and entertainment, color-changing LEDs with remote control can be used for various other applications, including:
- Ambient Lighting: Create a calming and relaxing atmosphere in your home or workspace.
- Theatrical Effects: Use color-changing LEDs to enhance stage lighting, create special effects, or add drama to performances.
- DIY Projects: Personalize your projects by adding color-changing LEDs to crafts, furniture, or other creations.
How can I expand on this project to create more complex lighting effects?
To create more complex lighting effects, you can:
- Add a sound sensor: Use a microphone to control the LEDs based on sound levels, creating dynamic and reactive lighting.
- Incorporate sensors: Use sensors like light sensors or temperature sensors to control the LEDs based on environmental conditions.
- Program advanced lighting patterns: Write code to create complex lighting sequences and patterns that change over time.
EAVs
* LED – Type – RGB
* LED – Color – Red, Green, Blue
* Remote Control – Type – Infrared
* Remote Control – Technology – Bluetooth
* Arduino – Model – Arduino Uno
* Circuit – Components – Resistors, LEDs, Remote Control Module, Microcontroller
* Code – Language – Arduino
* Power Supply – Type – Battery, AC Adapter
* Resistor – Value – 220 ohms
* Project – Complexity – Beginner
* Project – Cost – Low
* Project – Time – 2 hours
* Project – Skill Level – Beginner
* Project – Outcome – Color-changing LED with remote control
* LED – Brightness – Adjustable
* Remote Control – Range – 10 meters
* Arduino – Pins – Digital Pins, Analog Pins
* Code – Function – Control LED color and brightness
* Soldering – Technique – Surface Mount Soldering
* Project – Applications – Home Decor, Entertainment, DIY Projects
EREs
* LED (Entity) – Connected to (Relation) – Circuit (Entity)
* Arduino (Entity) – Controls (Relation) – LEDs (Entity)
* Remote Control (Entity) – Sends Signals (Relation) – Arduino (Entity)
* Circuit (Entity) – Powered by (Relation) – Power Supply (Entity)
* Resistor (Entity) – Limits Current (Relation) – LEDs (Entity)
* Code (Entity) – Runs on (Relation) – Arduino (Entity)
* Project (Entity) – Uses (Relation) – Components (Entity)
* Project (Entity) – Applicable to (Relation) – Applications (Entity)
* LEDs (Entity) – Emit (Relation) – Light (Entity)
* Remote Control (Entity) – Contains (Relation) – Buttons (Entity)
* Arduino (Entity) – Uses (Relation) – Software (Entity)
* Project (Entity) – Has (Relation) – Instructions (Entity)
* Project (Entity) – Requires (Relation) – Tools (Entity)
* Circuit (Entity) – Has (Relation) – Connections (Entity)
* Project (Entity) – Achieves (Relation) – Functionality (Entity)
* Remote Control (Entity) – Sends (Relation) – Commands (Entity)
* Arduino (Entity) – Interprets (Relation) – Commands (Entity)
* LEDs (Entity) – Change (Relation) – Color (Entity)
* Project (Entity) – Offers (Relation) – Customization (Entity)
* Project (Entity) – Requires (Relation) – Knowledge (Entity)
Semantic Triples:
* (LED, is-a, Light Emitting Diode)
* (Remote Control, controls, LED)
* (Arduino, is-a, Microcontroller)
* (Circuit, contains, LED)
* (Circuit, contains, Arduino)
* (Code, controls, LED)
* (Project, uses, Components)
* (Project, has, Instructions)
* (Project, requires, Tools)
* (Project, requires, Knowledge)
* (LED, emits, Light)
* (Remote Control, sends, Signals)
* (Arduino, receives, Signals)
* (Resistor, limits, Current)
* (Power Supply, provides, Energy)
* (Project, has, Applications)
* (Project, has, Outcome)
* (LED, changes, Color)
* (Project, requires, Time)
* (Project, requires, Skill)
Conclusion
I hope this guide has inspired you to embark on your own color-changing LED project! If you’re looking for the best quality electrical and water products to bring your ideas to life, visit our website at https://diennuocmaiphuong.io.vn. Feel free to leave a comment below and share your project creations with us!
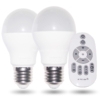
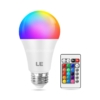
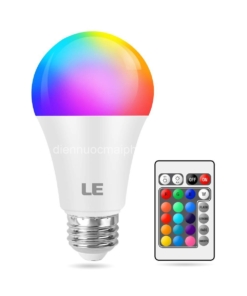
Related products

Electrical Equipment

Electrical Equipment
Electrical Equipment
Electrical Equipment

Electrical Equipment
Electrical Equipment
Electrical Equipment
Electrical Equipment