
Water knowledge
How to Fix a Leaky Bathroom Faucet: A Step-by-Step Guide
Sep
How to Fix a Leaky Bathroom Faucet: A Step-by-Step Guide. In today’s article, diennuocmaiphuong.io.vn will explore with you in the most detailed and complete way. See now!
Step-by-Step Guide to Fixing a Leaky Bathroom Faucet
Let’s get started! Fixing a leaky bathroom faucet is a relatively straightforward process, but it requires a little patience and attention to detail. Here’s a comprehensive guide to help you tackle the job successfully.
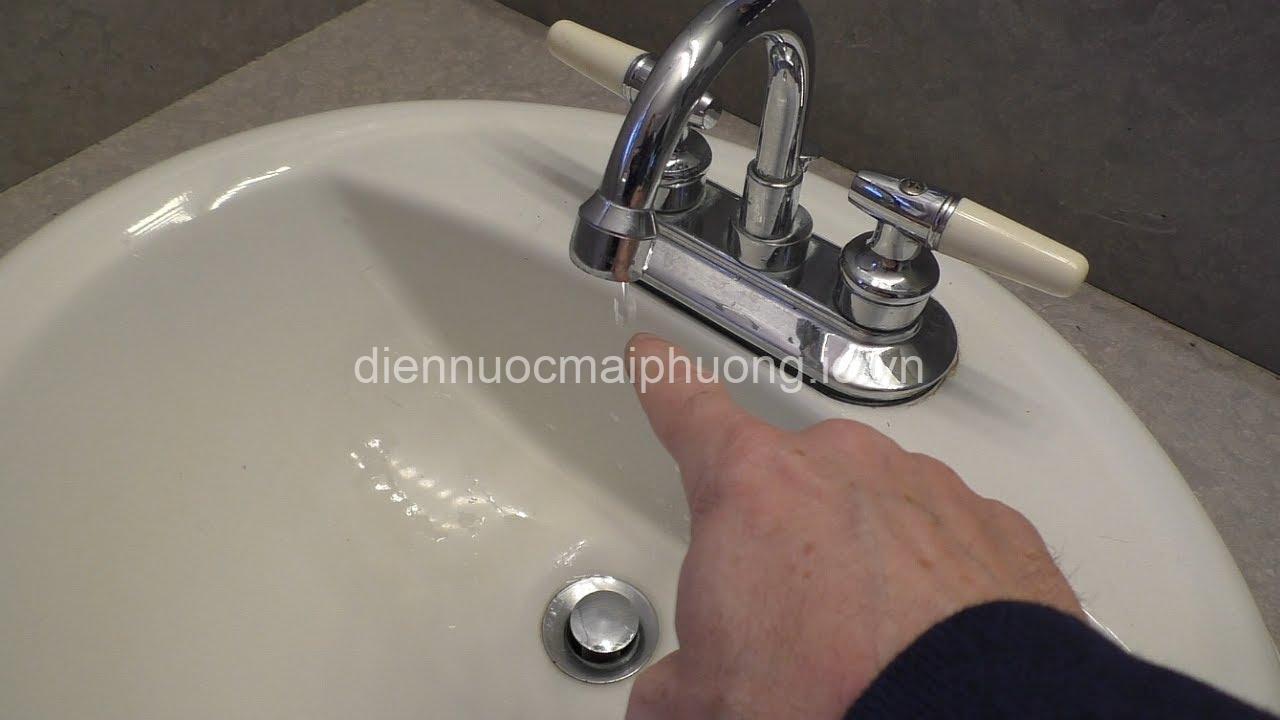
Identify the Leak
First, we need to determine where the leak is coming from. There are three common areas:
- Dripping from the spout: This often indicates a worn-out washer.
- Leaking from the base of the faucet: A loose packing nut or a damaged O-ring can cause this.
- Leaking from the handle: A worn-out stem seal or a loose handle assembly could be the culprit.
The next step is to identify the type of faucet you have. This will determine the specific parts you’ll need to replace. There are four main types:
- Compression Faucets: These have a single handle and use a threaded stem with a washer to control water flow.
- Cartridge Faucets: These have a single handle and use a cartridge that contains a washer and O-rings.
- Ball Faucets: These have a single handle and use a ball-shaped valve to control water flow.
- Ceramic Disc Faucets: These have two handles and use ceramic discs to control water flow.
Once you’ve identified the leak and the type of faucet, you can gather the necessary tools and materials.
Gather Your Tools and Materials
You’ll need a few basic tools for this job:
- Screwdriver: For removing screws on handles and decorative caps.
- Adjustable Wrench: For tightening and loosening nuts and other parts.
- Pliers: For gripping and holding small parts.
- Basin Wrench: For accessing and removing nuts that are hard to reach.
Next, you’ll need some replacement parts:
- Replacement Washer(s): These are essential for fixing leaks from the spout and stem.
- O-Rings: These are used to seal the connections between different parts of the faucet.
- Faucet Tape: This is used to seal threads and prevent leaks.
- Thread Sealant: This is an optional but helpful material for sealing connections.
Turn Off the Water Supply
Before you start disassembling the faucet, it’s crucial to turn off the water supply to the faucet. This usually involves a shut-off valve located under the sink or near the faucet.
Disassemble the Faucet
Now, it’s time to disassemble the faucet.
- Remove the Handle: Use the screwdriver to remove the handle screws.
- Remove Decorative Caps: If your faucet has any decorative caps, use pliers or a screwdriver to remove them.
- Remove the Packing Nut or Stem Nut: Locate the packing nut or stem nut (depending on the faucet type) and use the adjustable wrench to loosen and remove it.
- Remove the Old Washer(s): Once you’ve removed the packing nut or stem nut, you can access the washer(s). Remove them carefully.
Inspect and Replace Parts
Now, it’s time to inspect the old washer(s) for wear and tear. If they are cracked, chipped, or worn out, you’ll need to replace them with new ones. While you’re at it, inspect other parts like O-rings and stem seals for any damage or wear.
Reassemble the Faucet
Now you’re ready to reassemble the faucet.
- Place the New Washer on the Stem: Position the new washer securely on the stem.
- Screw the Stem Nut Back Onto the Stem: Tighten the stem nut by hand, then use the adjustable wrench to secure it.
- Tighten the Packing Nut or Stem Nut: Tighten the packing nut or stem nut using the adjustable wrench. Be careful not to overtighten, as this can damage the faucet.
- Replace the Handle and Decorative Caps: Reinstall the handle and decorative caps, securing them with screws.
Test for Leaks
Now, it’s time to turn the water supply back on. Once the water is running, test the faucet for leaks. If there are any leaks, go back and re-tighten the packing nut or stem nut. If you still have leaks, you may need to replace additional parts.
Troubleshooting Common Problems
Here are some common problems you may encounter and how to troubleshoot them:
- The faucet still leaks after following these steps: You may have missed a worn-out part, or there may be a problem with the faucet’s internal components. Consult a professional plumber if you can’t identify the issue.
- The faucet is dripping from the base: The problem is likely a loose packing nut or a damaged O-ring. Tighten the packing nut, replace the O-ring, or try a different packing nut.
- The faucet is dripping from the handle: The stem seal is likely worn out. Replace the stem seal with a new one.
Remember: These troubleshooting tips may vary depending on your faucet type.
Understanding Different Faucet Types
Let’s delve deeper into the different types of faucets and their specific replacement parts:
- Compression Faucets: These faucets are known for their simplicity and affordability. They usually have a threaded stem with a washer that controls water flow. When a compression faucet leaks, it’s often due to a worn-out washer or a loose packing nut. To repair a compression faucet, you’ll need to replace the washer and possibly the packing nut as well.
- Cartridge Faucets: These faucets are more common in newer homes. They use a cartridge that houses the washer and O-rings. When a cartridge faucet leaks, it’s often because the cartridge is worn out or damaged. To repair a cartridge faucet, you’ll need to replace the entire cartridge.
- Ball Faucets: These faucets have a single handle that controls a ball-shaped valve. Leaking ball faucets often require replacing the ball valve or O-rings.
- Ceramic Disc Faucets: These faucets use ceramic discs to control water flow. They are known for their durability and resistance to wear and tear. However, leaks can occur if the ceramic discs are damaged or worn out. To repair a ceramic disc faucet, you’ll need to replace the ceramic discs.
Preventative Maintenance and Tips
To avoid future leaks, it’s important to perform regular maintenance on your bathroom faucet. Here are a few simple tips:
- Inspect the faucet regularly for signs of wear and tear: Check for loose handles, cracked washers, and leaking seals.
- Tighten loose handles and packing nuts: This can help prevent leaks from developing over time.
- Use faucet tape or thread sealant to prevent leaks at the connections: This can create a tighter seal and reduce the chances of leaks.
When to Call a Professional
While fixing a leaky faucet is often a DIY project, there are times when it’s best to call a professional plumber. Here are a few scenarios:
- The faucet is severely damaged: If the faucet is beyond repair or has sustained significant damage, it’s best to replace it with a new one.
- You are unsure how to fix the leak: If you’re not comfortable with DIY plumbing, or if you can’t identify the cause of the leak, it’s best to call a professional.
- The leak is causing damage to your home: If the leak is severe or if it’s causing damage to your walls, floors, or ceilings, call a professional plumber immediately.
Resources and Additional Information
For more information and resources on fixing leaky faucets and other plumbing issues, visit my website at https://diennuocmaiphuong.io.vn. You’ll find a wide range of informative articles, tutorials, and product reviews.
Conclusion
Fixing a leaky bathroom faucet is a simple DIY project that can save you money and prevent damage to your home. With a little patience and the right tools, you can easily resolve the issue. Remember, it’s always important to prioritize safety and call a professional if you’re unsure about any part of the process.
Do you have any questions about fixing a leaky bathroom faucet? Share your thoughts or ask in the comments below! You can also share this guide with your friends and family who might need it. And be sure to check out my website for more informative articles and resources.
FAQs about Fixing a Leaky Bathroom Faucet
What if the faucet is still leaking after following these steps?
If the faucet is still leaking after following these steps, you may have missed a worn-out part, or there may be a problem with the faucet’s internal components. It’s best to consult a professional plumber if you can’t identify the issue.
Why is my faucet leaking from the base?
A leaky faucet base is often caused by a loose packing nut or a damaged O-ring. Tighten the packing nut, replace the O-ring, or try a different packing nut. If the leak persists, the problem may be deeper, and you should consult a professional.
Why is my faucet leaking from the handle?
If your faucet is leaking from the handle, it’s likely that the stem seal is worn out. Replace the stem seal with a new one. If the leak persists, there may be another issue with the internal components of the handle.
What is the difference between a compression faucet and a cartridge faucet?
Compression faucets have a threaded stem with a washer that controls water flow. Cartridge faucets use a cartridge that contains a washer and O-rings.
Should I replace the entire faucet or just the parts?
Replacing just the necessary parts is often more cost-effective than replacing the entire faucet, especially if the faucet is relatively new. However, if the faucet is older or if the damage is extensive, replacing the entire faucet might be the best solution.