
Water knowledge
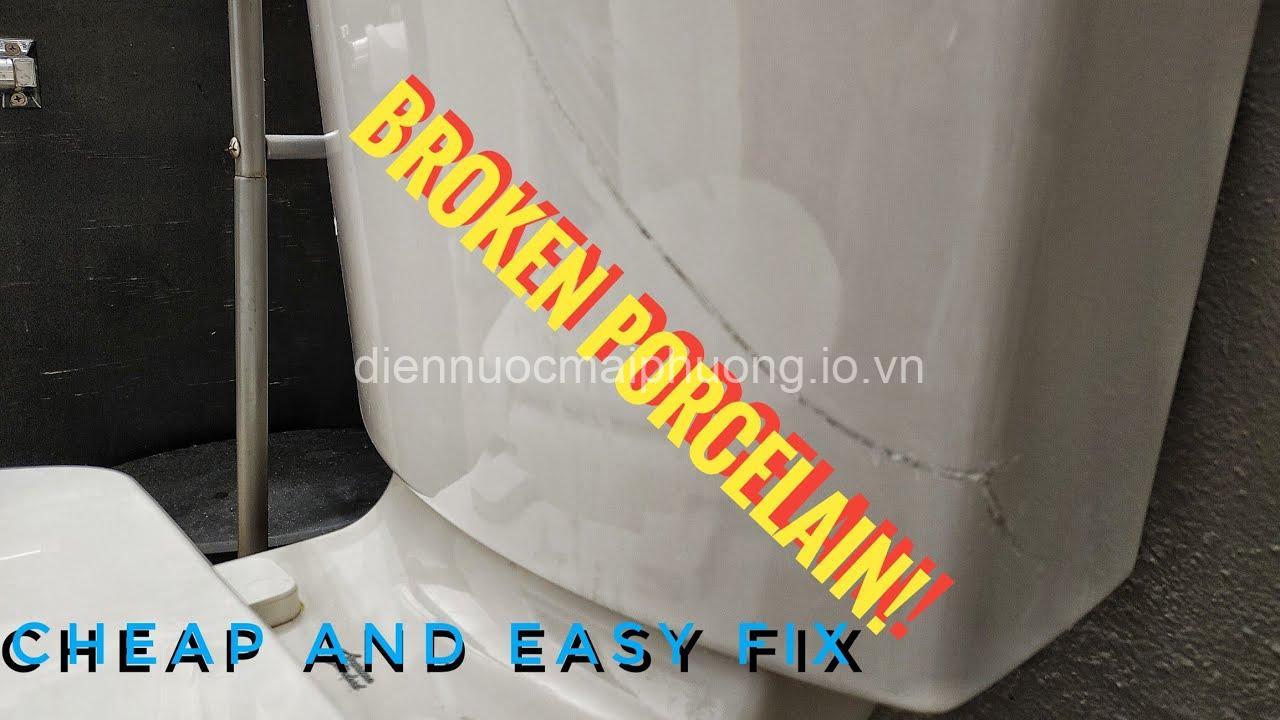
How to Replace a Broken Toilet Tank: Step-by-Step Guide
Sep
How to Replace a Broken Toilet Tank: Step-by-Step Guide. In today’s article, diennuocmaiphuong.io.vn will explore with you in the most detailed and complete way. See now!
Step-by-Step Guide to Replacing a Broken Toilet Tank
Replacing a broken toilet tank is a common plumbing repair that many homeowners can handle themselves. With the right tools and a bit of patience, you can complete the job efficiently and save money on professional service. Here’s a step-by-step guide:
A. Gather Your Tools and Materials:
Before you begin, make sure you have the following tools and materials ready:
- New toilet tank: Choose a tank that’s compatible with your existing toilet model or one that fits your preferred design.
- Adjustable wrench: For loosening and tightening nuts and bolts.
- Channel-lock pliers: Useful for gripping and holding pipes.
- Phillips head screwdriver: For removing and securing screws.
- Plumber’s putty: Used to create a watertight seal around the tank-to-bowl gasket.
- Teflon tape: Used to seal threads on pipes and fittings.
- Bucket: For catching any spilled water or debris.
- Rags: For cleaning up spills and wiping down surfaces.
- Safety goggles: Protect your eyes from debris and splashing water.
B. Prepare Your Toilet for Replacement:
- Turn off the water supply: Locate the shut-off valve for your toilet and turn it completely off.
- Flush the toilet: Flush the toilet to empty the tank and bowl, ensuring there’s no water remaining.
- Disconnect the water supply line: Carefully detach the water supply line from the fill valve on the tank.
- Disconnect the toilet from the floor: Remove the bolts holding the toilet base to the floor.
- Remove the tank-to-bowl gasket (if applicable): If your toilet has a tank-to-bowl gasket, carefully remove it for future reference.
C. Remove the Old Tank:
- Identify and remove the screws: Locate the screws that attach the tank to the bowl and remove them using a screwdriver.
- Carefully lift the tank off the bowl: Ensure there’s no water inside the tank before lifting it to prevent spills.
- Remove the fill valve and other components: Detach the fill valve and any other components attached to the tank, like the flush valve, for future reference.
D. Install the New Tank:
- Position the new tank: Carefully place the new tank on the bowl, ensuring the bolt holes align perfectly.
- Secure the tank to the bowl: Use the provided screws or bolts to securely attach the tank to the bowl.
- Connect the new fill valve: Attach the new fill valve to the tank, making sure it is correctly positioned and secured.
- Install the tank-to-bowl gasket (if applicable): Apply plumber’s putty around the gasket to create a watertight seal between the tank and the bowl.
- Attach the water supply line: Connect the water supply line to the fill valve, using Teflon tape on the threads to prevent leaks.
E. Test and Finish:
- Turn the water supply back on: Carefully open the water supply valve and check for leaks.
- Flush the toilet multiple times: Flush the toilet a few times to ensure proper operation and check the water level.
- Adjust the fill valve: Make sure the fill valve is properly adjusted to maintain the correct water level in the tank.
- Replace the toilet seat and lid: Install the toilet seat and lid to complete the replacement process.
- Clean up any spills or debris: Wipe down the toilet and surrounding area to clean up any spills or debris.
Common Problems You Might Encounter
While replacing a toilet tank is generally straightforward, there are a few common issues you might encounter:
Leaks: Leaks can occur from various points, like the fill valve, flush valve, or the tank-to-bowl gasket. Tighten connections, replace worn-out parts, or apply plumber’s putty to seal leaks.
Improper Flushing: This could be due to blockages in the bowl or the flush valve, or an incorrectly adjusted fill valve. Check for obstructions, adjust the water level, or consider replacing a worn-out flapper in the flush valve.
Low Water Pressure: This could result from a closed main water valve, kinks in the water line, or a restricted fill valve. Check the main valve, inspect the water line, and consider adjusting the fill valve’s flow rate.
When to Call a Professional
While replacing a toilet tank is a DIY project for many homeowners, it’s important to know when to call a professional plumber:
Major Damage or Complex Issues: If the tank is severely cracked, or if you suspect a deeper plumbing problem, it’s best to consult a professional plumber.
Lack of Experience or Confidence: If you’re uncomfortable with DIY plumbing or unsure about the process, seeking professional help is the best choice.
Additional Tips for Toilet Tank Replacement
- Water Conservation: When selecting a new tank, consider a model with a low-flow fill valve to conserve water.
- Matching Parts: Ensure your new tank is compatible with your existing toilet model to avoid any potential compatibility problems.
- Safety First: Always wear safety goggles to protect your eyes from debris or splashing water.
FAQs About Replacing a Toilet Tank
What happens if I choose a toilet tank that’s not compatible with my toilet model?
If you choose a tank incompatible with your toilet model, you might encounter problems with fit, water flow, or flushing mechanisms. It’s crucial to select a compatible tank or consult a professional to ensure correct installation and functionality.
How can I prevent leaks after replacing the tank?
- Use plumber’s putty for a watertight seal: Apply plumber’s putty around the tank-to-bowl gasket to create a strong watertight seal.
- Use Teflon tape on threads: Apply Teflon tape to the threads of the water supply line and the fill valve to prevent leaks at the connections.
- Tighten connections properly: Ensure all connections are tightened securely but avoid over-tightening to prevent damage to the fittings.
What if my toilet tank is still leaking after replacing the tank?
If the toilet tank continues to leak, there might be a problem with the fill valve, flush valve, or the tank-to-bowl gasket. Inspect these components, replace worn-out parts, and adjust as needed. If you’re still experiencing leaks, it’s advisable to call a professional plumber to diagnose and fix the issue.
What are the best brands of toilet tanks?
Some popular and reputable brands for toilet tanks include Kohler, American Standard, Toto, and Gerber. However, the best brand for you depends on your budget, preferred features, and toilet model compatibility.
What should I do if the water level in my tank is too high or too low?
Adjust the fill valve to adjust the water level in the tank. There’s typically a knob or lever on the valve that controls the water flow. Experiment with adjusting it until you achieve the correct water level.
Conclusion
Replacing a broken toilet tank is a DIY project that many homeowners can handle. By following these simple steps and addressing common issues, you can effectively repair your toilet and enjoy its proper functionality. Remember to always check for leaks, ensure proper flushing, and adjust the fill valve as needed. If you encounter any major damage or complex issues, it’s best to seek professional help from a qualified plumber. For more information about plumbing repairs and supplies, visit diennuocmaiphuong.io.vn and stay tuned for more informative content!